🎯 What You'll Learn in This Course
- ✅ P6 interface and navigation
- ✅ Enterprise Project Structure (EPS) and OBS
- ✅ Creating WBS and activities
- ✅ Relationships, constraints, and calendars
- ✅ Critical Path Method (CPM) analysis
- ✅ Resource loading and leveling
- ✅ Baselines, updates, and progress tracking
- ✅ Reporting and data export
📋 Course Contents
- Module 1: P6 Overview & Interface
- Module 2: EPS, OBS, and Project Setup
- Module 3: WBS and Activities
- Module 4: Relationships & Constraints
- Module 5: Calendars
- Module 6: Scheduling & Critical Path
- Module 7: Resources & Costs
- Module 8: Baselines & Progress Updates
- Module 9: Reporting & Layouts
- Final Quiz
1 Module 1: P6 Overview & Interface
1.1 What is Primavera P6?
Oracle Primavera P6 EPPM (Enterprise Project Portfolio Management) is the industry-standard software for scheduling large, complex construction and engineering projects.
1.2 P6 Versions
| Version | Type | Best For |
|---|---|---|
| P6 Professional | Desktop (Client-Server) | Large enterprises, multi-user |
| P6 EPPM Web | Browser-based | Remote access, portfolio view |
| P6 Cloud | SaaS | No IT infrastructure |
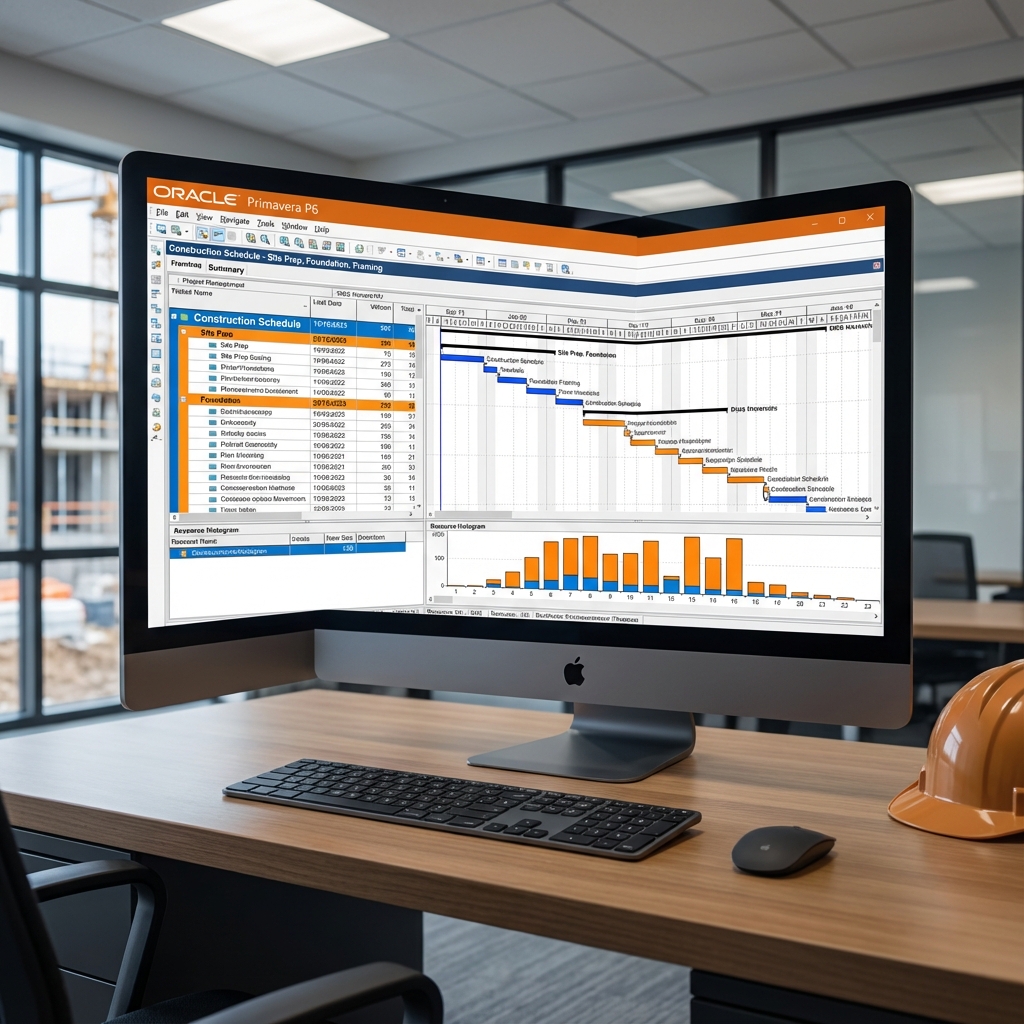
1.3 P6 Interface Layout
- Menu Bar: File, Edit, View, Tools, etc.
- Command Bar: Quick access buttons
- Directory Bar: Projects, EPS, WBS navigation
- Activity Table: Main data grid
- Gantt Chart: Visual schedule
- Details Panel: Selected activity details
F9 = Schedule (Calculate)
Ctrl+S = Save
Ctrl+Insert = Add Activity
F7 = Assign Resources
2 Module 2: EPS, OBS, and Project Setup
2.1 Enterprise Project Structure (EPS)
EPS is the hierarchical folder structure for organizing projects:
Enterprise (Root)
Top-level company node
Division/Region
e.g., Middle East, Europe
Program/Portfolio
e.g., Residential Projects 2026
Project
Individual project schedule
2.2 Organizational Breakdown Structure (OBS)
OBS defines responsibility hierarchy:
- Links EPS nodes to responsible managers
- Controls access rights
- Used for resource roll-up reporting
2.3 Creating a New Project
- File → New → Project
- Select EPS node location
- Enter Project ID (unique, e.g., "PRJ-001")
- Enter Project Name
- Set Planned Start date
- Set Must Finish By (optional constraint)
- Select Rate Type (for cost calculation)
- Assign Responsible Manager (OBS)
LOC-TYPE-YEAR-NUM → DXB-RES-2026-001
3 Module 3: WBS and Activities
3.1 Work Breakdown Structure (WBS)
WBS divides the project into manageable sections:
- Hierarchical decomposition of work
- Required before adding activities
- Used for filtering, grouping, reporting
- Each activity belongs to one WBS element
3.2 Creating WBS
- Project → WBS
- Add top-level elements (phases)
- Add sub-elements as needed
- Apply consistent coding (e.g., 1.0, 1.1, 1.2...)
3.3 Activity Types
| Type | Description | When to Use |
|---|---|---|
| Task Dependent | Duration fixed, resources calculate hours | Most construction activities |
| Resource Dependent | Duration calculated from resource availability | Limited resources drive duration |
| Level of Effort (LOE) | Duration tied to predecessor/successor | Supervision, project management |
| Start Milestone | Zero-duration start point | Project start, phase start |
| Finish Milestone | Zero-duration end point | Key deliverables, handovers |
| WBS Summary | Roll-up of WBS children | Summary reporting only |
3.4 Duration Types
| Duration Type | What Changes When Resources Change |
|---|---|
| Fixed Duration & Units | Units/Time stays same (most common) |
| Fixed Units | Duration changes with units |
| Fixed Duration & Units/Time | Total units changes |
| Fixed Units/Time | Duration changes |
4 Module 4: Relationships & Constraints
4.1 Relationship Types
| Type | Meaning | Example |
|---|---|---|
| FS (Finish-to-Start) | B starts after A finishes | Pour concrete → Wait → Cure |
| SS (Start-to-Start) | B starts when A starts | Excavation → Shoring (parallel) |
| FF (Finish-to-Finish) | B finishes when A finishes | Testing → Documentation |
| SF (Start-to-Finish) | B finishes when A starts | Rarely used |
4.2 Lag and Lead
- Lag (+): Delay between activities (e.g., FS+3d = wait 3 days)
- Lead (-): Overlap activities (e.g., FS-2d = start 2 days before predecessor finishes)
4.3 Constraint Types
| Constraint | Effect | Example Use |
|---|---|---|
| As Late As Possible | Pushes to latest possible date | Default for non-critical |
| Start On | Forces exact start date | Contractual milestones |
| Finish On | Forces exact finish date | Contractual deadlines |
| Start On or Before | Must not start after date | Soft deadlines |
| Mandatory Start/Finish | Ignores logic, forces date | ⚠️ Use sparingly! |
5 Module 5: Calendars
5.1 Calendar Types
| Type | Scope | Use |
|---|---|---|
| Global | All projects | Company standard calendars |
| Project | Single project | Project-specific holidays |
| Resource | Individual resource | Personal leave, availability |
5.2 Creating a Calendar
- Enterprise → Calendars
- Click Add (or copy existing)
- Name the calendar (e.g., "6-Day Week")
- Set Work Hours/Day
- Define Workdays (check/uncheck days)
- Add Exceptions (holidays, special days)
5.3 Common Calendar Setups
- 5-Day Week: Mon-Fri, 8 hrs/day = 40 hrs/week
- 6-Day Week: Sat-Thu, 8 hrs/day (Middle East)
- 7-Day Week: All days work (shutdown, emergency)
- Night Shift: 10pm-6am working hours
6 Module 6: Scheduling & Critical Path
6.1 Running the Scheduler
Press F9 or Tools → Schedule to calculate the schedule.
6.2 Scheduling Options
- Data Date: The "today" for calculation
- Schedule Mode: Retained Logic vs Progress Override
- Activity Option: Using relationships, constraints
- Resource Leveling: Auto-level or manual
6.3 Critical Path Method (CPM)
P6 calculates:
| Term | Definition |
|---|---|
| Early Start (ES) | Earliest possible start date |
| Early Finish (EF) | Earliest possible finish date |
| Late Start (LS) | Latest start without delaying project |
| Late Finish (LF) | Latest finish without delaying project |
| Total Float (TF) | LS - ES (or LF - EF) |
| Free Float (FF) | Delay without affecting successor ES |
🔑 Critical Path Definition
Activities with Total Float = 0 are on the Critical Path. Any delay to these activities delays the entire project.
6.4 Viewing Critical Path
Apply a filter: View → Filters → Critical
Or highlight critical bars in Gantt: View → Bars → Critical (red color)
7 Module 7: Resources & Costs
7.1 Resource Types
| Type | Unit | Example |
|---|---|---|
| Labor | Hours | Carpenter, Engineer |
| Non-Labor | Hours | Crane, Mixer |
| Material | Quantity | Concrete m³, Rebar ton |
7.2 Creating Resources
- Enterprise → Resources
- Add Resource Hierarchy (optional)
- Add Resource with ID, Name, Type
- Set Max Units/Time (availability)
- Set Price/Unit for costing
7.3 Assigning Resources
- Select activity
- Open Resources tab (or press F7)
- Click Add Resource
- Set Budgeted Units (hours or quantity)
7.4 Resource Leveling
When resources are over-allocated (100%+ usage):
- Tools → Level Resources
- Set priority rules (earliest start, total float...)
- Review results - leveling may extend schedule
8 Module 8: Baselines & Progress Updates
8.1 Creating a Baseline
Baseline = snapshot of the approved schedule for comparison.
- Project → Maintain Baselines
- Click Add
- Select which fields to baseline
- Name it (e.g., "Contractual Baseline Rev 0")
- Assign as Primary/Secondary baseline
8.2 Baseline Types
- Project Baseline: Copy of current project data
- User Baseline: Custom selection of dates/costs
- Initial/Primary/Secondary: Display positions (3 max)
8.3 Progress Update Process
Set Data Date
Project → Project Data Date
Update Activities
Actual Start, Actual Finish, Remaining Duration, % Complete
Schedule (F9)
Recalculate forecast dates
Analyze Variance
Compare to baseline
8.4 % Complete Types
| Type | Calculation |
|---|---|
| Physical % | User-entered based on site assessment |
| Duration % | Actual Duration / (Actual + Remaining) |
| Units % | Actual Units / (Actual + Remaining) |
9 Module 9: Reporting & Layouts
9.1 Layouts
Layouts save your view configuration:
- Columns displayed
- Filters applied
- Grouping/Sorting
- Gantt bar settings
Save: View → Layout → Save As
9.2 Built-in Reports
- Schedule Reports: Activity lists, bar charts
- Resource Reports: Usage, histograms
- Cost Reports: Budget vs actual
- Earned Value: S-curves, EVM metrics
9.3 Export Options
| Format | Use |
|---|---|
| XER | P6 native exchange (best for sharing) |
| XML | Import to other tools |
| Excel | Data analysis, custom reporting |
| Print layouts, presentations |
🎯 Final Quiz
🧪 Test Your P6 Knowledge
1. What does EPS stand for?
2. Which relationship type is most common?
3. What defines the Critical Path?
4. What keyboard shortcut runs the scheduler?
🚀 What's Next?
Practice makes perfect! Create a sample project and apply all modules.
Continue with Resource Loading and Leveling