🎯 What You'll Learn in This Course
- ✅ What 4D BIM is and why it matters
- ✅ How to link your 3D model to a schedule
- ✅ Creating professional construction simulations
- ✅ Software comparison: Navisworks vs Synchro
- ✅ Real-world examples and case studies
- ✅ Best practices and common mistakes to avoid
📋 Course Contents
1 Module 1: Understanding 4D BIM
1.1 What is 4D BIM?
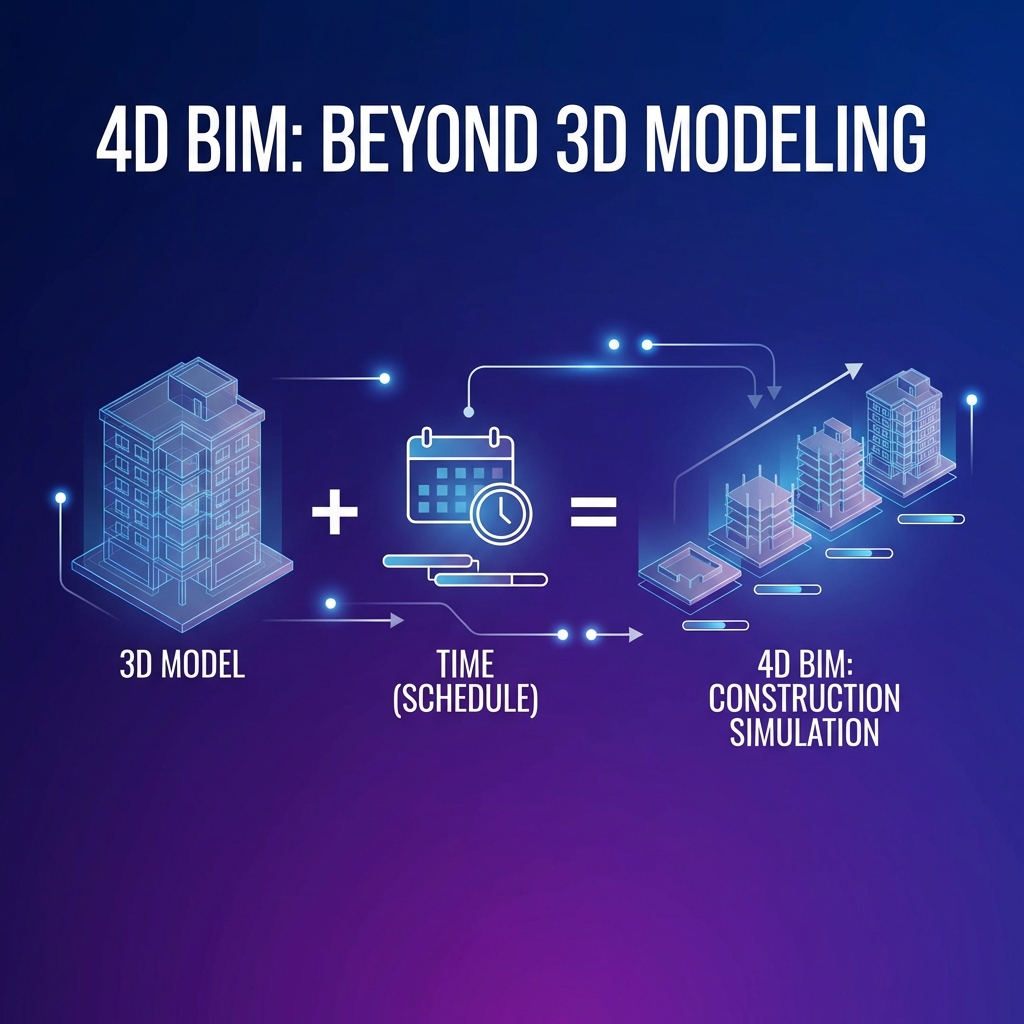
4D BIM adds the dimension of time to your 3D model. Think of it as bringing your static building model to life by showing when each element will be constructed.
🔑 Key Formula
4D BIM = 3D Model + Time (Schedule)
1.2 Why 4D BIM Matters
Imagine you're a project manager with a 500-page schedule in Primavera P6. How do you explain it to:
- 🏢 The client who has no construction background?
- 👷 The subcontractor who needs to coordinate with others?
- 🏦 The bank that's financing the project?
1.3 The ROI of 4D BIM
| Benefit | Traditional | With 4D BIM |
|---|---|---|
| Schedule Review Time | 2-3 hours | 20-30 minutes |
| Clash Detection (Time) | Often missed | Identified early |
| Client Understanding | Limited | Crystal clear |
| Coordination Meetings | 2+ hours | 45 minutes |
A contractor used 4D BIM to identify a scheduling conflict where concrete pours were scheduled during curtain wall installation. This was caught 3 months before execution, saving an estimated $250,000 in delay costs.
2 Module 2: The 4D Workflow
2.1 The Complete Workflow
Creating a 4D simulation follows these systematic steps:
- Prepare Your 3D Model
Export from Revit, ArchiCAD, or Tekla. Ensure proper LOD and naming conventions. - Prepare Your Schedule
Create a detailed schedule in Primavera P6 or MS Project with proper WBS structure. - Import Both into 4D Software
Use Navisworks, Synchro Pro, or other 4D tools to bring them together. - Link Elements to Activities
Connect model objects to their corresponding schedule activities. - Configure Simulation Settings
Set appearance types, colors, intervals, and animation effects. - Review & Iterate
Play the simulation, identify issues, and refine as needed.
2.2 Required Team Roles
| Role | Responsibility | Skills Needed |
|---|---|---|
| BIM Coordinator | Prepare & export 3D model | Revit, Navisworks |
| Planner | Create & export schedule | Primavera P6, MS Project |
| 4D Specialist | Link & create simulation | Navisworks, Synchro |
| Project Manager | Review & approve | Construction knowledge |
3 Module 3: Software & Tools
3.1 Software Comparison
| Software | Company | Best For | Price Range |
|---|---|---|---|
| Navisworks Manage | Autodesk | Revit users, clash detection + 4D | $2,940/year |
| Synchro Pro | Bentley | Advanced 4D, logistics simulation | $5,000+/year |
| Vico Office | Trimble | 4D + 5D integrated | Enterprise |
| Fuzor | Kalloc | VR + 4D, presentations | $1,995 |
| Bexel Manager | Bexel | Cost-effective alternative | $500/year |
3.2 Navisworks vs Synchro: Deep Dive
🔷 Navisworks Manage
Pros:
- ✅ Seamless integration with Revit
- ✅ Excellent clash detection (Clash Detective)
- ✅ Large user community
- ✅ Part of Autodesk AEC Collection
Cons:
- ❌ Limited 4D capabilities compared to Synchro
- ❌ No resource visualization
- ❌ Basic logistics simulation
🔶 Synchro Pro
Pros:
- ✅ Advanced 4D capabilities
- ✅ Built-in P6 integration
- ✅ Equipment and crew animation
- ✅ Site logistics planning
Cons:
- ❌ Steeper learning curve
- ❌ Higher cost
- ❌ Requires more powerful hardware
4 Module 4: Linking Model to Schedule
4.1 Linking Methods
| Method | How It Works | Best For |
|---|---|---|
| Manual Drag & Drop | Select elements, drag to activity | Small projects, learning |
| Selection Sets | Pre-grouped elements linked to activities | Medium projects |
| Auto-Match by Name | Software matches by naming convention | Large projects with standards |
| WBS Mapping | Link via Work Breakdown Structure | Enterprise-level coordination |
4.2 Naming Convention Strategy
The key to successful auto-linking is consistent naming. Here's a proven system:
In Primavera P6 (Activity ID):
A1020.10 - Pour Ground Floor Columns
In Revit (Parameter):
TaskCode = A1020.10
Or Element Name:
Column_A1020.10_GF_Zone-A
For a hospital project with 5,000+ activities, we created a shared parameter "ActivityCode" in Revit. The planner exported the schedule with matching codes. Result: 85% auto-link success rate, with only 15% needing manual attention.
4.3 Step-by-Step: Linking in Navisworks
- Open TimeLiner tab
Go to Home → Tools → TimeLiner - Import your schedule
Data Sources → Add → Select CSV or P6 XML file - Create Selection Sets
Use Find Items or Sets → Create from selection - Link using Rules
Right-click task → Auto-Attach Using Rules - Configure appearance
Set Start/End appearance, colors for each task type
5 Module 5: Creating Simulations
5.1 Simulation Types
| Type | Description | Use Case |
|---|---|---|
| Construct | Elements appear when activity starts | Most construction activities |
| Demolish | Elements disappear | Demolition, temporary works removal |
| Temporary | Appear then disappear | Formwork, scaffolding, shoring |
| Grow | Element grows with progress | Linear elements like roads, pipes |
5.2 Color Coding Best Practices
Use consistent colors to communicate status:
- 🟢 Green: Completed / As-built
- 🔵 Blue: Active construction work in progress
- 🟡 Yellow: Planned for this period
- 🔴 Red: Delayed / Critical path
- ⚪ Transparent: Future work
6 Module 6: Practical Use Cases
6.1 Pre-Construction Planning
- 🏗️ Buildability Review: Identify construction sequence issues
- 🚧 Site Logistics: Plan crane locations, material storage
- 📅 Phasing: Plan partial handovers
- 💼 Client Presentations: Win projects with visual proposals
6.2 During Construction
- 📊 Progress Tracking: Compare planned vs actual visually
- 👥 Coordination Meetings: Weekly look-ahead discussions
- 🔄 What-If Scenarios: Evaluate recovery options
- 📝 Documentation: Record as-built progression
6.3 Claims & Disputes
- ⚖️ Delay Analysis: Visual evidence of impact events
- 📋 As-Planned vs As-Built: Side-by-side comparison
- 🔍 Root Cause Analysis: Trace back to origin of delays
A contractor used 4D to demonstrate how a design change caused a 45-day delay. The visual simulation was shown in arbitration and helped recover $1.2 million in delay damages.
7 Module 7: Best Practices
7.1 Do's ✅
- ✅ Start Early: Begin 4D during design phase, not just construction
- ✅ Match LOD to Schedule: If schedule has weekly activities, LOD should match
- ✅ Update Regularly: Keep 4D in sync with schedule updates
- ✅ Include Temporary Works: Formwork, scaffolding, cranes
- ✅ Document Your Rules: Create a linking protocol document
7.2 Don'ts ❌
- ❌ Mismatched Detail: 100 schedule activities for 1 model element
- ❌ Set and Forget: 4D needs continuous maintenance
- ❌ Ignore Coordination: BIM and Planning must work together
- ❌ Over-complicate: Start simple, add complexity gradually
🎯 Final Quiz
🧪 Test Your Knowledge
1. What does 4D BIM add to a 3D model?
2. Which software is best for Revit integration?
3. What's the key to successful auto-linking?
🚀 What's Next?
Continue your BIM journey with 5D BIM: Cost Integration